
<=Waste board. Install Gantry.=>
Assemble Gantry.
How to view the animation?
Best viewed in full screen using the button at the right of the bottom toolbar.
Best viewed in full screen using the
button at the right of the bottom toolbar.
Best viewed in full screen using the
button at the right of the bottom toolbar.
Best viewed in full screen using the
button at the right of the bottom toolbar.
Notes Before you start:
- Skip ahead momentarily to see why it might not be a bad idea to route the A motor wires while building the gantry
- Take note of the position of the two T-Slots in the Wide Makerslide X axis before sliding on X Carriage.
It's important that the T'slots are aligned as shown in the animation in relation to the X carriage as they are used to secure GT2 belt and mount a bolt to foul the X limit switch (both as shown below highlighted red).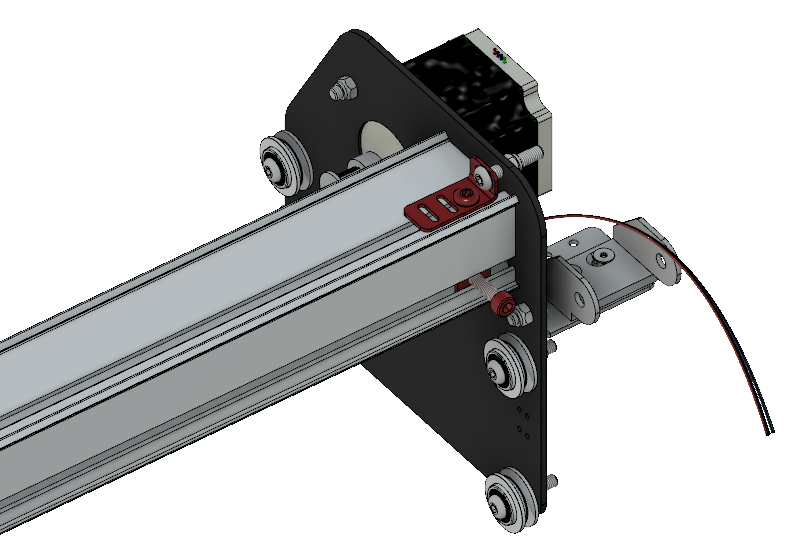
- IMPORTANT: Be sure to set your V-Wheels at their widest point before sliding on the X Carriage! Use the eccentric nuts to adjust.
- IMPORTANT: Adjust but do not over tighten the V-Wheels after installing the X Carriage, tight enough to remove wobble in the X Carriage and no further. Over tightened V-Wheels will develop flat spots in just a few hours!
- There is a spare V-wheel in the kit, should you over tighten and damage the wheels more can be ordered here.

Gantry BOM:
|
|
|||
| Qty | Part | Image | |
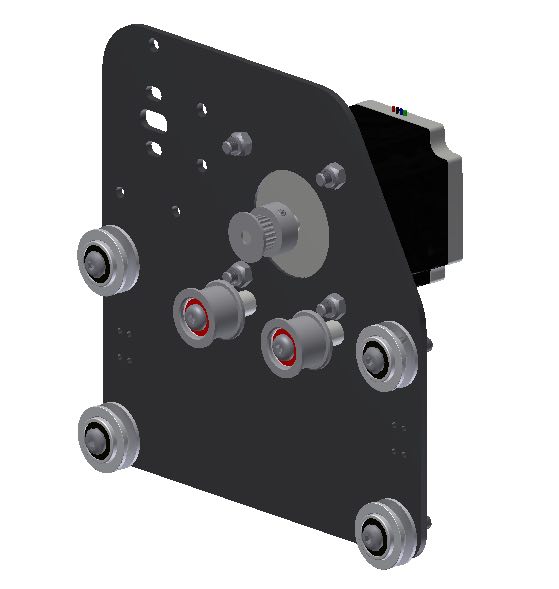
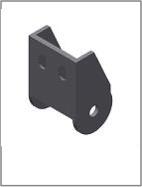
| 1 | Gantry Side Left Assembly |
 |
|
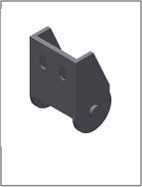
| 1 | Gantry Side Right Assembly |
 |
|
| 1 | XZ Assembly |
 |
|
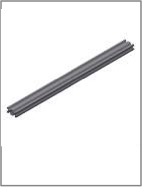
| 1 | Wide Makerslide X Axis |
 |
|
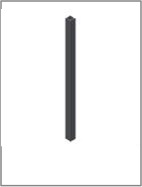
| 1 | 2040 Drag Chain Support Extrusion |
 |
|
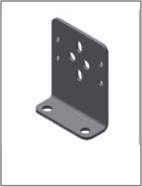
| 1 | Drag Chain Support Bracket 1 |
 |
|
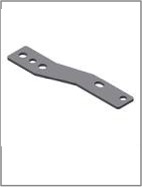
| 2 | Drag Chain Support Bracket 2 |
 |
|
| 1 | Socket Head Cap Screw - M5x0.8 x 20 |
 |
|
| 4 | Socket Button Head Cap Screw - M5 x 0.8 x 8 |
 |
|
| 4 | Socket Button Head Cap Screw - M6 x 1 x 10 |
 |
|
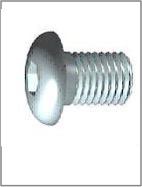
| 10 | Socket Button Head Cap Screw - M5 x 0.8 x 12 |
 |
|
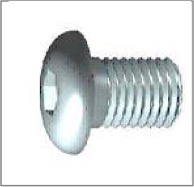
| 2 | Socket Button Head Cap Screw - M5 x 0.8 x 20 |
 |
|
| 5 | Tee Nuts Mix of Pre and Post Assembly |
 |
|
| 4 | Socket Flat Countersunk Head Cap Screws - M4x10 |
 |
|
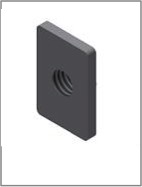
| 2 | Prevailing Torque Hex Nut - M4 x 0.7 |
 |
|
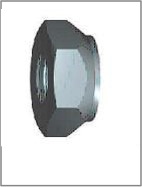
| 4 | Prevailing Torque Hex Nut - M5 x 0.8 |
 |
|
| 1 | Drag Chain End Female |
 |
|
| 1 | Drag Chain End Male |
 |
|
<=Waste board. Install Gantry.=>