
<=Belts. Wiring Connections, Tuning and Driver Install=>
Enclosure.
Best viewed in full screen using the
 button at the right of the bottom toolbar.
Best viewed in full screen using the
 button at the right of the bottom toolbar.
Notes Before you start:
- The estop switch has several parts, detailed assembly in the drawing below
- One of the two smaller cable glands is pre installed on the USB lead supplied with the enclosure, a split on the enclosure back plate enables installation.
- The fan should be installed with the sticker facing the inside of the enclosure! Air blows towards/out of the sticker side of the fan.
Best viewed in full screen using the
button at the right of the bottom toolbar.
Wiring BOM:
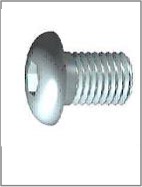
| 12 | Socket Button Head Cap Screw - M3 x 0.5 x 6 |
 |
| 4 | Socket Flat Countersunk Head Cap Screws - M3x20 |
 |
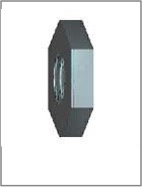
| 4 | Prevailing Torque Hex Nut M3 * 0.5 |
 |
| 1 | Yellow Momenatry Switch |
 |
| 1 | Green Momenatry Switch |
|
| 1 | Estop Switch |
 |
| 1 | 50mm 24V Fan |
 |
| 1 | 50mm Fan Cover with Filter |
 |
| 1 | PG9 Cable Gland |
 |
| 1 | PG21 Cable Gland |
 |
| 1 | AIO Enclosure Cover |
 |
| 1 | AIO Enclosure Rear |
 |
| 1 | Aio Enclosure Base |
 |
| 1 | Custom USB Cable with Cable Gland |
<=Belts. Wiring Connections, Tuning and Driver Install=>